
When you begin to notice streaky prints, missing colors, or inconsistent quality from your HP printer, the problem could be with the Printhead on an HP Printer replace. The printhead is a crucial component responsible for transferring ink onto paper, and over time, it may wear out or clog, leading to poor print quality. Luckily, you don’t always need a new printer—replacing the printhead can restore your printer’s performance.
In this comprehensive guide, we will walk you through the steps to replace a printhead on an HP printer, helping you resolve print issues and get your printer running like new again.
Why is Printhead Replacement Important?
The printhead is essentially the heart of the printer, responsible for creating the image or text on the page. When printheads malfunction, you’ll likely experience streaks, blotches, or missing areas in your prints. These issues are particularly common in inkjet printers, where the printhead may become clogged with dried ink or damaged over time. Regular maintenance and prompt replacement are crucial to keep your printer producing high-quality prints.
When to Replace the Printhead
You may need to replace the printhead if you experience any of the following:
- Streaky, faded, or incomplete prints.
- Frequent printhead errors displayed on the printer screen.
- Failure of printhead cleaning cycles to resolve print quality issues.
- Warning lights on the printer indicating printhead failure.
If your printer gives you a specific printhead error code, such as Error Code 0xc19a0023 or similar, this is a clear sign that the printhead is malfunctioning and needs replacement.
Steps to Replace the Printhead on HP Printers
Step 1: Power Off and Unplug the Printer
Before starting the replacement process, turn off the printer and unplug it from the wall. This will prevent any accidental electric shocks and ensure your safety.
Step 2: Open the Printer Cover
Once the printer is powered down, open the printer cover or access panel to reveal the printhead and ink cartridge assembly. Wait for the printer carriage to move to the center for easy access.
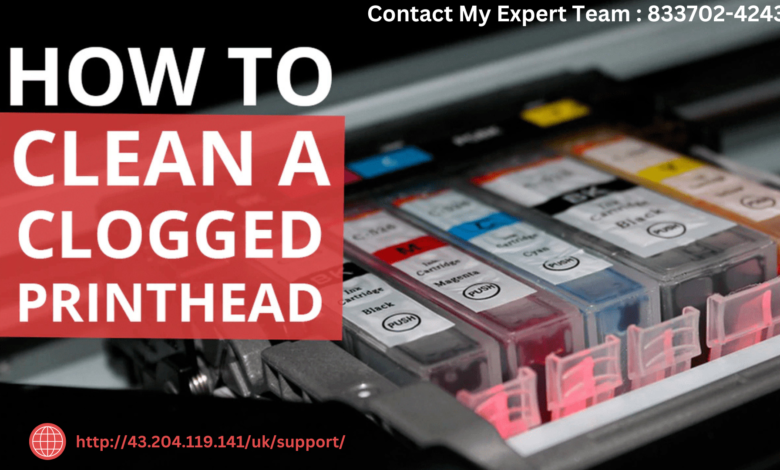
Step 3: Remove Ink Cartridges
To reach the printhead, you must first remove the ink cartridges:
- Press the release tab on each ink cartridge and carefully lift them out.
- Set the cartridges aside on a clean, lint-free cloth to avoid contamination.
Step 4: Remove the Old Printhead
Next, locate the printhead locking latch. It is typically near the center of the ink carriage:
- Gently lift the latch to release the old printhead.
- Carefully remove the printhead, taking care not to spill any residual ink.
Step 5: Install the New Printhead
- Unpack your new HP Customer Service Phone Number and remove any protective tape or covers.
- Carefully insert the printhead into the designated slot, ensuring the connectors are properly aligned.
- Push down gently until the printhead clicks into place, and secure the latch.
Step 6: Reinstall the Ink Cartridges
After the printhead is in place, reinstall the ink cartridges:
- Insert each cartridge back into its corresponding slot, ensuring they click into place.
- Check that each cartridge is securely seated.
Step 7: Close the Printer and Power It On
- Close the printer cover or access panel.
- Plug the printer back in and turn it on. The printer may automatically detect the new printhead and run a printhead alignment process.
Step 8: Print a Test Page
Once the printer is back online, print a test page to check for print quality:
- If the quality looks good, the replacement was successful.
- If there are still streaks or missing colors, try running a printhead cleaning cycle from the printer’s settings.
Troubleshooting Common Printhead Issues
Sometimes, even after replacing the printhead, you may experience problems. Here are some common issues and how to resolve them:
- Error Messages Persist: If the printer continues to display printhead error messages, double-check that the printhead and cartridges are properly seated.
- Print Quality Issues Remain: If print quality doesn’t improve, try running additional cleaning cycles or re-aligning the printhead.
- Printer Does Not Recognize the New Printhead: Ensure that you have installed the correct printhead model for your printer.
Choosing the Right Printhead for Your HP Printer
Not all printheads are universal, so it’s important to purchase a printhead that is compatible with your HP printer model. You can find this information in your printer’s manual or by visiting the HP technical support phone number website. Genuine HP printheads are recommended for the best performance, as they are designed to work seamlessly with your printer’s ink and hardware.
Maintaining Your Printhead for Long-Lasting Performance
To extend the life of your printhead and maintain print quality, follow these tips:
- Use your printer regularly to prevent ink from drying out in the printhead nozzles.
- Run cleaning cycles every few weeks if you notice a decline in print quality.
- Always use genuine HP ink cartridges to avoid compatibility issues that can damage the printhead.
Also Read: HP Printer Problem
Replacing the printhead on your HP printer is a cost-effective way to restore print quality and prolong the life of your device. By following the steps outlined in this guide, you can confidently replace your printhead and keep your printer working efficiently for years to come.