
How to Use Hayward Combination Installation Tool SP1434T: A Comprehensive Guide
Combination Installation Tool SP1434T
Installing and maintaining pool equipment can be daunting, especially without the right tools. The Hayward combination installation tool SP1434T is designed to simplify this process, making it easier for professionals and DIY enthusiasts to install and maintain Hayward pool systems. This guide will walk you through the steps to use this tool effectively, ensuring your pool equipment is installed correctly and functions optimally.
What is the Hayward Combination Installation Tool SP1434T?
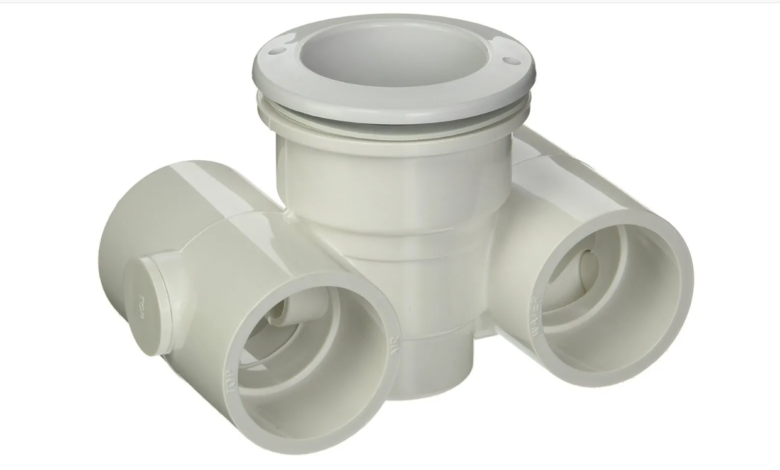
The Hayward combination installation tool SP1434T is a specialized tool designed to assist in installing and maintaining various Hayward pool equipment. This tool is handy for working with fittings, drain covers, and other components that require precise alignment and tightening. Whether installing a new pool system or performing routine maintenance, the SP1434T tool is essential to your toolkit.
Key Features:
- Versatility: Suitable for a variety of Hayward pool equipment.
- Ease of Use: Designed for both professionals and DIY users.
- Durability: Made from high-quality materials to withstand frequent use.
Step-by-Step Guide to Using the Hayward Combination Installation Tool SP1434T
Step 1: Gather Your Tools and Materials
Before starting any installation or maintenance task, gathering all the necessary tools and materials is essential. Alongside the Hayward combination installation tool SP1434T, you may need:
- PVC glue and primer
- Teflon tape
- Replacement parts (if performing maintenance)
- Safety gloves and goggles
Having everything ready before you begin will save time and help ensure the installation goes smoothly.
Step 2: Prepare the Area
Ensure the area where you’ll be working is clean and debris-free. This is especially important if you’re working near a pool, as any dirt or debris could contaminate the water or damage the equipment.
Step 3: Use the SP1434T Tool to Install Fittings
The SP1434T tool is primarily used for installing and tightening fittings. To use the tool, follow these steps:
- Align the Fitting: Position the fitting in place, ensuring it is correctly aligned with the corresponding component.
- Insert the Tool: Insert the SP1434T tool into the fitting, ensuring a secure grip.
- Tighten the Fitting: Rotate the tool clockwise to tighten the fitting. Be careful not to overtighten, as this could damage the fitting or the surrounding components.
If you’re installing multiple fittings, repeat this process for each one.
Step 4: Secure Drain Covers
The SP1434T tool can also install or remove drain covers. To do this:
- Position the Drain Cover: Place the drain cover over the drain opening, aligning it with the screw holes.
- Insert the Tool: Insert the SP1434T tool into the screws, ensuring a secure fit.
- Tighten the Screws: Rotate the tool clockwise to tighten the screws and secure the drain cover in place.
Step 5: Check for Leaks
After installing the fittings and drain covers, it is important to check for leaks. Turn on the pool system and inspect all connections for signs of water leakage. If you notice any leaks, use the SP1434T tool to tighten the fittings further.
Maintenance Tips for the Hayward Combination Installation Tool SP1434T
Proper maintenance of the SP1434T tool is essential to ensure its longevity and effectiveness. Here are some tips to keep your tool in top condition:
- Clean After Use: Always clean the tool after each use to remove dirt, debris, or chemical residues. This will prevent corrosion and ensure smooth operation.
- Store Properly: Store the tool in a dry, cool place away from direct sunlight. This will protect it from rust and other environmental damage.
- Inspect Regularly: Regularly inspect the tool for any signs of wear or damage. If you notice any issues, such as a loose handle or bent components, repair or replace the tool as necessary.
Common Issues and Troubleshooting
Even with the right tools, you may need some help with installation or maintenance. Here are some common problems and how to troubleshoot them:
Issue 1: Fitting Won’t Tighten
If a fitting won’t tighten, ensure it is properly aligned. Misalignment is a common cause of this issue. If the fitting is aligned correctly, inspect the threads for any damage or debris preventing it from tightening.
Issue 2: Tool Slips During Use
If the SP1434T tool slips during use, it may be due to a worn grip or incorrect tool size. Ensure you’re using the correct tool for the fitting and that the tool’s grip is in good condition. If necessary, replace the tool with a new one.
Issue 3: Leaks After Installation
Leaks can occur if fittings are not tightened sufficiently. If you notice leaks after installation, use the SP1434T tool to retighten the fittings. If leaks persist, inspect the fittings for damage and replace them if necessary.
Final Thoughts
The Hayward combination installation tool SP1434T is invaluable for anyone working with Hayward pool systems. By following the steps outlined in this guide, you can ensure that your installations are completed correctly and efficiently, leading to a well-maintained pool system that will last for years.
If you’re new to using the SP1434T tool, take your time with any initial difficulties. With practice, you’ll become more confident using the tool, and your installations will become quicker and more precise.
Frequently Asked Questions
Q: Can the SP1434T tool be used with non-Hayward equipment?
A: While the SP1434T tool is specifically designed for Hayward equipment, it may be compatible with some non-Hayward components. However, it’s recommended that the tool be used with Hayward products for the best results.
Q: How do I know if I’ve tightened a fitting enough?
A: An adequately tightened fitting should feel secure and not move when applying pressure. Be careful not to overtighten, as this can damage the fitting or the surrounding components.
Q: What should I do if the tool becomes difficult to use?
A: If the tool becomes difficult to use, it may be due to wear or damage. Inspect the tool for any signs of issues and clean it thoroughly. If the problem persists, consider replacing the tool.
Category
This article should be published under the Home Improvement or Pool Maintenance category, as it provides detailed instructions and tips for using a specific tool in pool system installations.